
How to create an SSH key and attach it to a Hetzner server
2025-02-13
This guide will cover how to create and attach an SSH key to a server on Heztner. I will also cover how to add the key and server ip to the ssh client config, so you can connect with just two words. Im on a Macbook running macOS Sonoma 14.2.1.
Step 1 - Create the SSH key
Default on macOS is the cli tool ssh-keygen which sole use is to generate ssh keys. It supports many algorithms, but the ones I have used in the past is:
- ed25519 a new algorithm added to OpenSSH but it might still have compatibility issues.
- RSA an old algorithm and it is very universal as all ssh clients supports it.
In this article I will only cover ed25519. To start open any terminal on your computer.
ed25519
Write the following command into your terminal. It will start the setup to create the ssh key.
ssh-keygen -t ed25519You now have to specify where you would want to store it.
Enter file in which to save the key (/Users/mac/.ssh/id_ed25519):Now press enter. It will then ask to set a passphrase, enter one of your liking or leave blank if you do not want the added security. It will now generate two files id_ed25519 and the other id_ed25519.pub.
Step 2 - Adding to Hetzner Project
We now want to add it to Hetzner, so it can populated on a server. Inside a Hetzner project click on Security and then Add SSH key. If you do not already have an account at Hetzner then feel free to use my referral link which will give you 20$ in credits for free or just visit their website: https://hetzner.cloud/?ref=KlpaGYqPcp1m
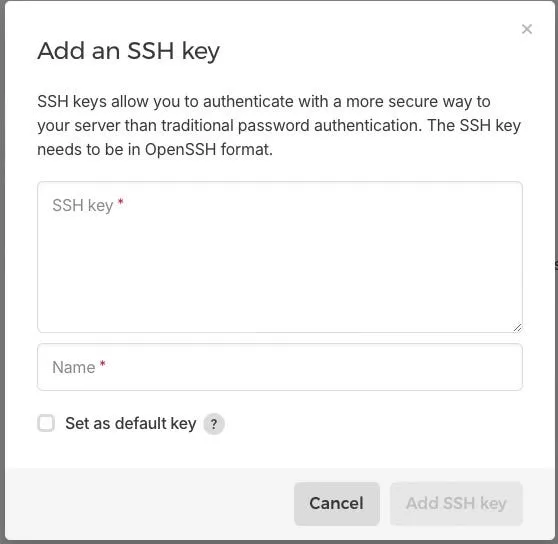 You now have to paste in your public SSH key which is the id_ed25519.pub file. Since you already have your terminal open then paste the following command to see the contents of the file.
cat ~/.ssh/id_ed25519.pubThis will print something like this:
ssh-ed25519 thisisatestdonotmindthatthereisnotanyrealcodehere [email protected]Now copy this into the SSH key form filed in Hetzner. It will automatically specify a name but you can change it to whatever you want.
Step 3 - Creating and connecting to a server
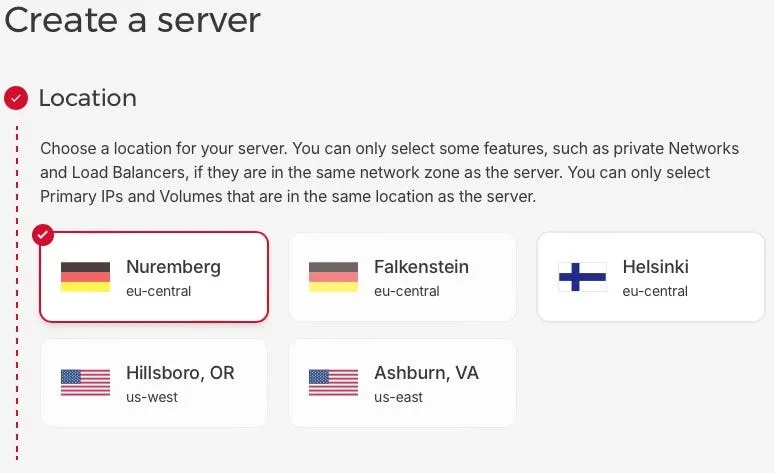
We now wanna create a server to test the SSH key that you have just created. For this test we will provision the cheapest setup. Go to the Servers section and click Add Server Pick a location to put your server.
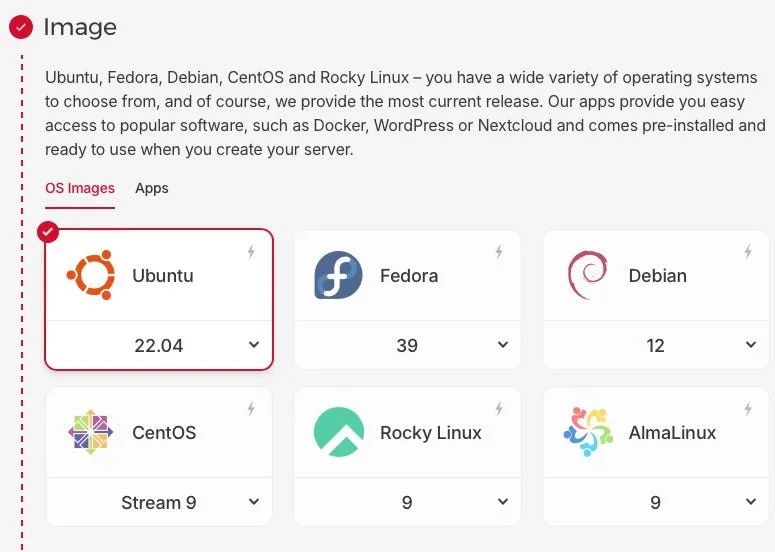
Now select the Ubuntu OS image for the server
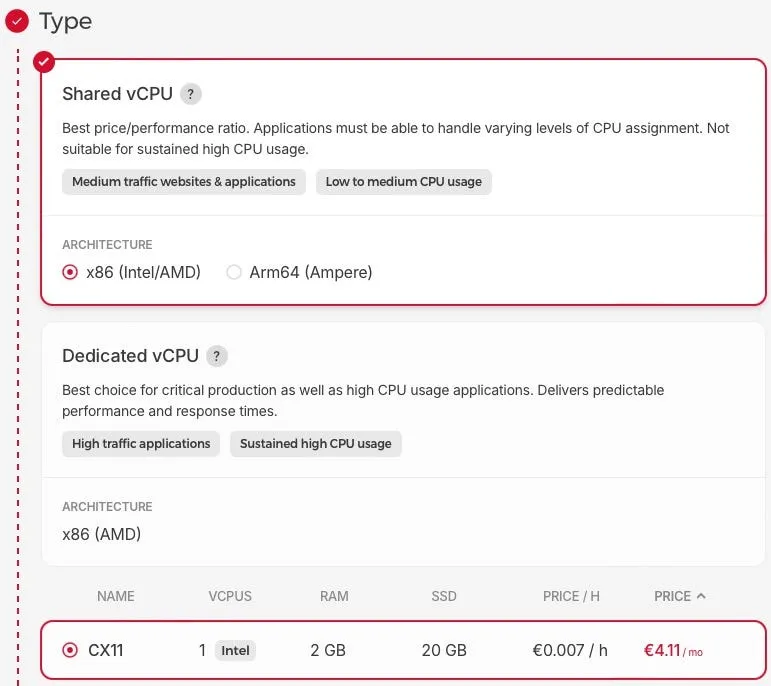
Provision any instance
Leave the networking as is. Now you will have to select the SSH key that you created.
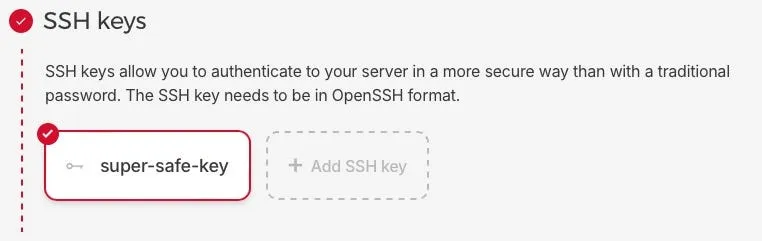
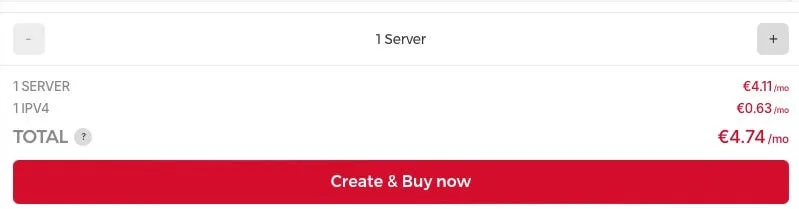
Of course the name makes it more safe ;) Now scroll to the bottom and click Create & Buy now. Don’t be scared of the buy now, as it is a little misleading. You are not instantly paying 4.74€ instead you will pay by the hour. So if you run the server for a day and then delete it, you would not even pay 20 cents. However, if you use my link from before it will be completely free.
Now let the server start. When it is ready it will show a green circle to the left of it.

Copy the Public facing IP and go to your terminal. You can use any text editor to edit the config file for your SSH client. However, I will do it with vim.
vim ~/.ssh/configNow write the following and be sure to replace the IP with your servers IP. You can name your server by replacing the name, but do not use whitespaces.
Host name
HostName 49.13.201.246 (REPLACE WITH YOUR SERVER IP)
User root
IdentityFile ~/.ssh/id_ed25519
Now exit your editor (:wq in vim) and in your terminal write the following:
ssh nameYou should now see this:
The authenticity of host '49.13.201.246 (49.13.201.246)' can't be established.
ED25519 key fingerprint is SHA256:thisisstillatestyourswilllookdifferent.
This key is not known by any other names.
Are you sure you want to continue connecting (yes/no/[fingerprint])?
You need to write yes and then press enter. You might also get asked for a password, if you specified it earlier. If you did everything correctly you will now see:
Welcome to Ubuntu 22.04.3 LTS (GNU/Linux 5.15.0-91-generic x86_64)

 * Documentation:  https://help.ubuntu.com
 * Management:     https://landscape.canonical.com
 * Support:        https://ubuntu.com/advantage

  System information as of Tue Feb 13 02:20:19 PM UTC 2024

  System load:  0.0                Processes:             91
  Usage of /:   10.3% of 18.45GB   Users logged in:       0
  Memory usage: 7%                 IPv4 address for eth0: 49.13.201.246
  Swap usage:   0%                 IPv6 address for eth0: 2a01:4f8:1c1e:6bbf::1

Expanded Security Maintenance for Applications is not enabled.

0 updates can be applied immediately.

Enable ESM Apps to receive additional future security updates.
See https://ubuntu.com/esm or run: sudo pro status

The list of available updates is more than a week old.
To check for new updates run: sudo apt update

root@ubuntu-2gb-nbg1-1:~#
Conclusion
We have now created a custom SSH key using the ed25519 algorithm and successfully added it to a server in Germany. We have also added to the key and server to the SSH client config file so we can access the server quickly. If you wish to make your server more secure you can dig into firewalls, which Hetzner has made easy for you.